Showing posts with label recipe. Show all posts

Friday, 10 August 2012

A little too much chocolate is just about right

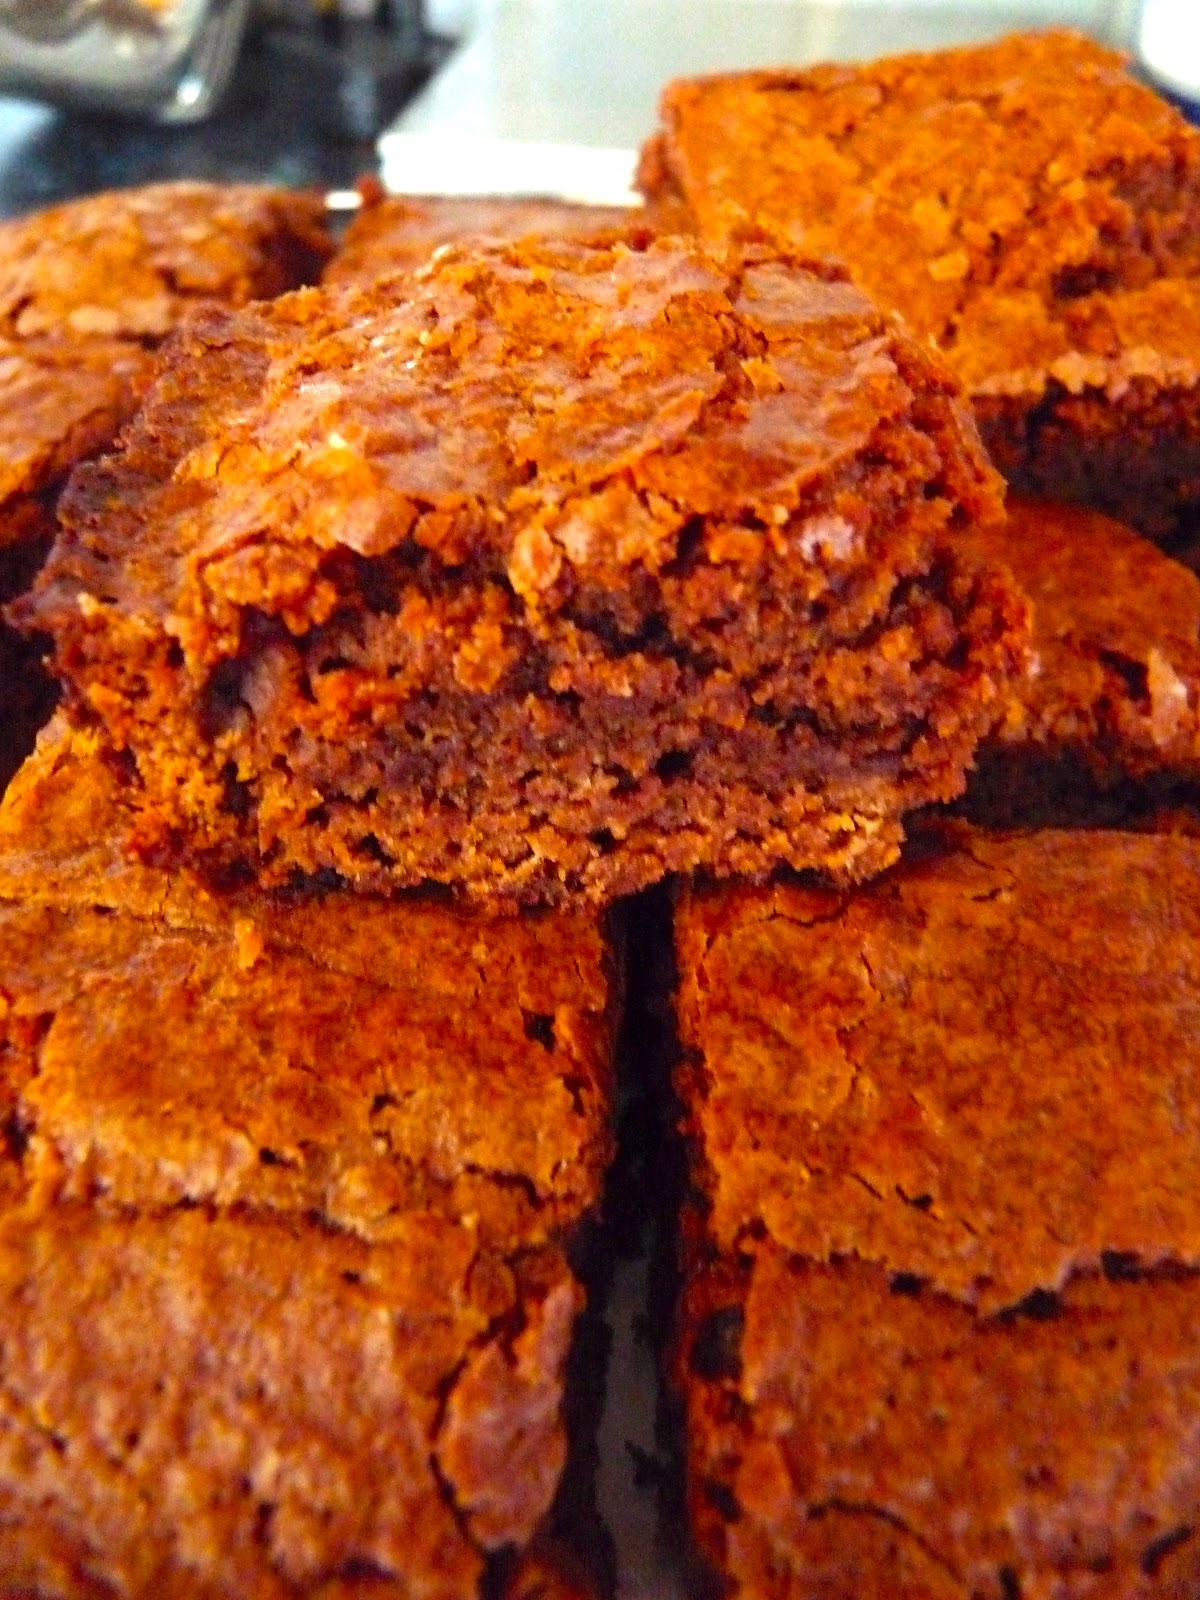
Chocolate brownies are arguable the tastiest and the king of all cake slices, oozing with gooey chocolately goodness that set your taste buds tickling. Nothing could beat the traditional brownie...or cound it? That's right today I am bringing you my twist on the brownie and what goes better with chocolate than orange. Chocolate orange brownies...mmmm...


2oz Dark Chocolate
4oz Butter
8oz Granulated Sugar
2oz Plain Flour
1tsp Baking Powder
1  Rind of whole Orange
2 Large Eggs

Preheat your oven to  Pre-heat the oven to gas mark 4, 350°F (180°C).

Grab a baking tray and grease with butter, then line with grease proof paper to stop brownies sticking to tray.
In a bowl over warm water melt chocolate together and then pour in bowl with granulated sugar and add the eggs, then beat until well mixed.
Sieve the flour and baking powder, then stir gentle in.
At this point add your orange rind and mix in well. Now pour in to the tray and pop it in to the oven for around 20-30mins. If you put a cocktail stick in it shouldn't be completely clean, still a little sticky and gooey. That's the perfect consistency.


I like to eat mine with a blob of ice cream or cream whilst it's still lovely and warm, fresh out of the oven. The better quality the chocolate but tastier they are!
It's the perfect dessert to dish up to your girlfriends on girls night or even for romantic meal with that special someone.


This is a perfect blogging treat with a lovely cup of tea. Ahhhh and relax.....


Wednesday, 18 July 2012

Cheeky Peanut Crunch!

 The week is beginning to drag, you may be counting down the days for your holiday or simply the weekend. Boy oh boy, don't I have a sneaky treat for you to help you throughout the rest of the week! Today I have decided to treat you readers to a delicious but definitely sinful midweek treat.
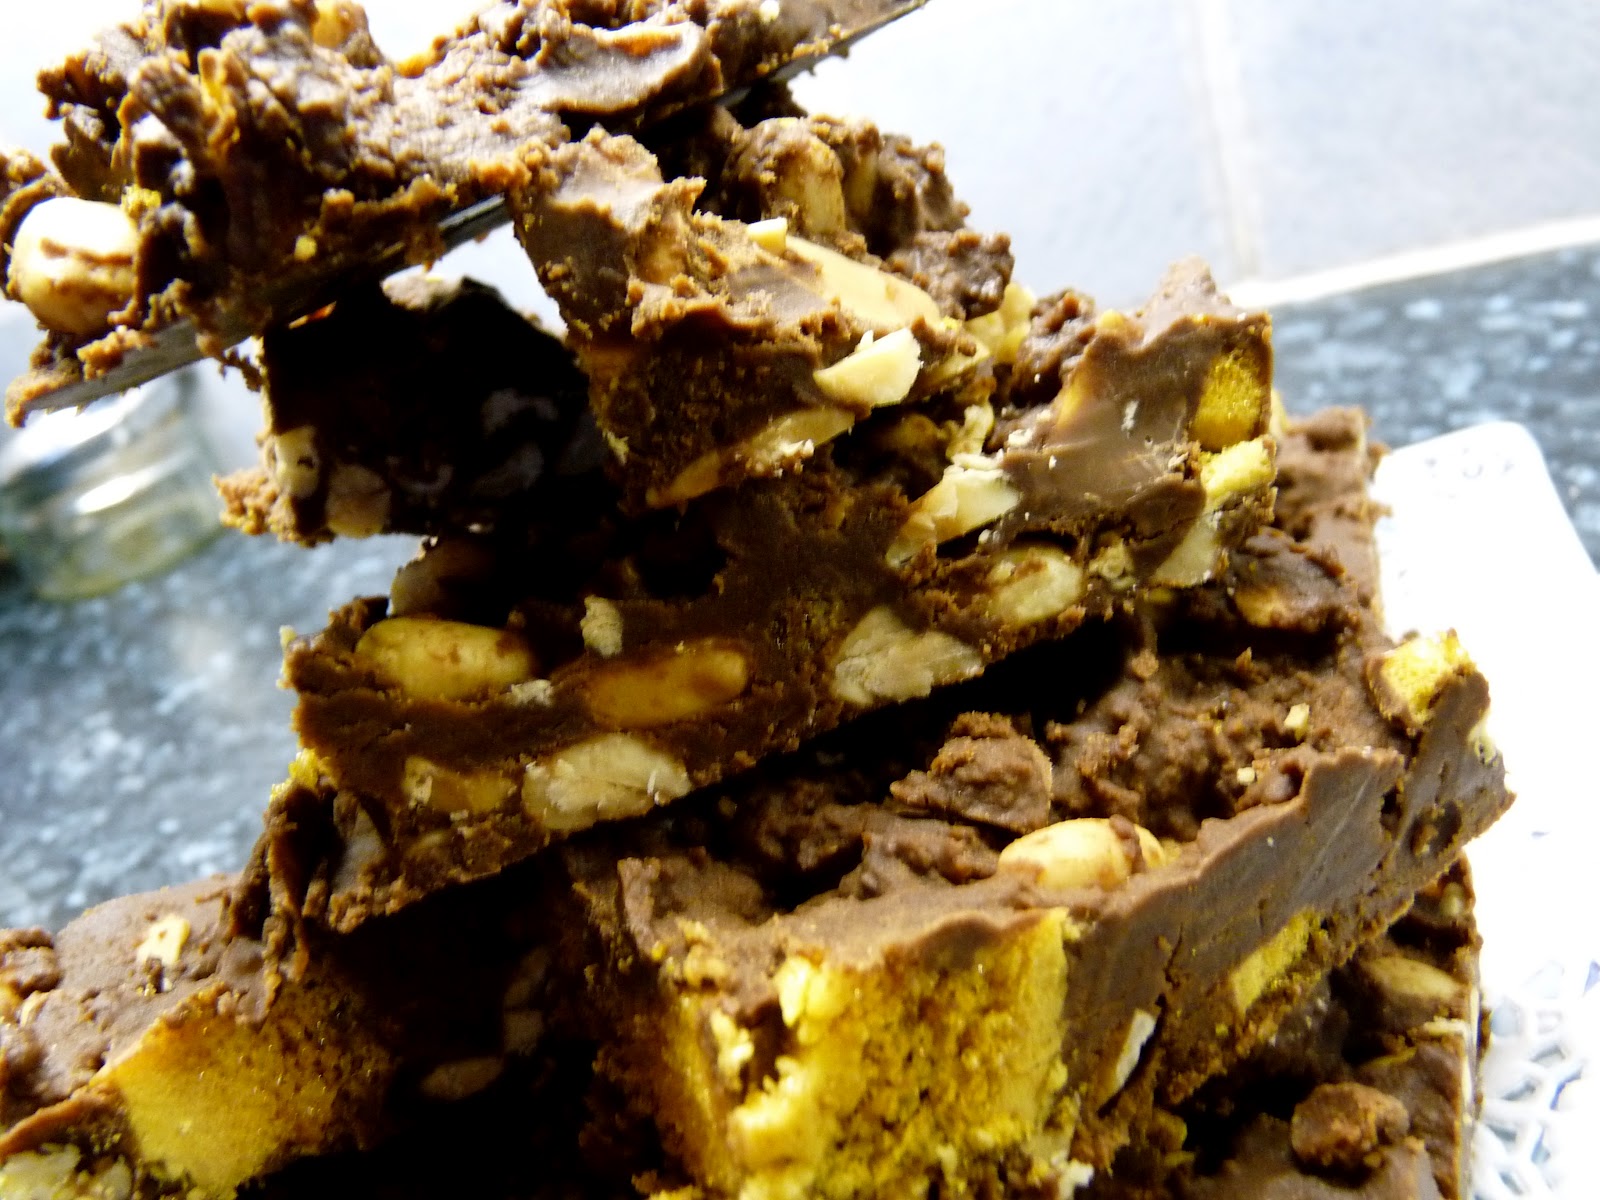
I present you with Peanut and Crunchie Slices. Yum Yum!


These slice are stuffed full of peanuts and chunks of the famous Crunchie slathered in rich chocolate. If your starting to think about making these and thinking "I'm a terrible cook!", not to worry, there is NO cooking involved! This is a bake-less cake! Also know as a fridge cake simply for the fact you mix the ingredients together and pop it in the fridge! Totally fool proof!
  
So here how to whip up your own sinful treat...


Ingredients:


100g Milk Chocolate
200g Dark Chocolate
125g Unsalted Butter
1tbsp Golden Syrup
250g Salted Peanuts
160g Crunchie Bar


1. In a bowl break up the chocolate and place over a pan of bowling water. The chocolate will begin to melt slowly.


2. When the chocolate begins to melt add the butter.


3. Add the golden syrup. TIP: Golden syrup is often hard to get off the spoon, before adding it to the butter and chocolate, run the spoon under the hot tap for a minute or so. The syrup should slip off the spoon with no hassle at all. Stir the mixture as it combines.


4. Whilst the chocolate mixture melts and combines, roughly chop up the crunches into chunks.


mmmm.....


5. In a separate bowl mix the crunchie and peanuts together. Once all the chocolate mixture is melted, pour over the crunchy and peanuts. 

6. Spread mixture on a baking tray about an inch deep and then finally place in the fridge. Once the chocolate has set it will be ready to eat.


And there you have it! Gorgeous, gooey, cheeky chocolate treat! Slice it up and serve it with a cup of tea whilst planning the weekend to come!


Such a cheeky treat but totally delicious!


What do you think? What is you midweek pick-me-up?


Saturday, 2 June 2012

Jubilee Celebrations


As it's a special weekend as it is the Queen's Jubilee, her 60th year on the throne! Across the nation people are celebrating and getting into the swings of things with the luxury of a four day weekend, wahoo!
Today, after work i knocked up these little beauties. Soft vanilla sponge with butter icing the colour of the British flag : red, white and blue. They are so yummy and i'm currently resisting the urge to gobble them all up! These have to be the perfect weekend bake and so easy.
If you'd like to find out how i did the icing you can read here to find out and you too can have these little Jubilee cupcakes! Per haps if you're having a street party you could whip some up as they be great for a tasty party treat !


What are you up to this Jubilee weekend?
Anyone having a Street Party?


Tuesday, 24 April 2012

Floral Tea Cupcakes

Like winnie the Pooh i always crave something sweet and delicious, only my craving is not honey but instead it’s cake. So in my mind i start thinking of ways i can satisfy my stomach and get creative at the same time in the kitchen…Then it comes to me a few days earlier i had seen Raspberri Cupcakes post the most cutest cupcakes ever. the colours were so well suited so i thought to myself ‘that gives mr a fantastic idea!’ So here they are my rose  tea cupcakes!


Ingredients:
Cake
6oz Butter/ Margerine
6oz Sugar
60z Self Raising Flour
1 tsp Baking powder (level)
1 tsp Vanilla Essence
3 Eggs
butter Icing
4 1/2 oz Butter
9 oz Icing sugar
1 tbsp Milk
1tsp Vanilla Essence
Food colouring ( i chose pink and blue)
1.In a bowl or mixer combine the sugar and marg together until a pale cream colour and looks fluffy

2. In a jug beat the eggs and slowly add to the sugar and marg mixture. At this point you can also add your flavouring and if you wanted to make the sponge a colour your colouring also.

3. Sift the flour and baking powder into the bowl and gentle combine with the rest of the mixture insuring you don’t beat it too much or the air that will help your cake raise will disappear!

4. spoon mixture into cases and baking for around 20-25 minute at 160 C. Take out and allow to cool before icing.


Now for the icing.
1.  Remove the butter from the fridge 30 minutes before starting.
2.Place in a large mixing bowl and beat at high speed, gradually adding icing sugar (and adding the milk and vanilla about halfway through) and beating until light and fluffy.
3.  Split your icing into different bowls to add the colouring
4. Place in a piping bag and alternate which colour you place in the piping bag. (like below)
5. Pipe icing on top of cupcakes, I used a Wilton 2D nozzle to get the rose shape look.

Hopefully you to will end up with some beautiful cupcakes as well!

Related Posts Plugin for WordPress, Blogger...